
If you want to use lollipop on your Moto X (1st Gen) then we have some good news for you. You can install lollipop 5.1.1 on your Moto X (1st Gen) by installing Dirty Unicorns ROM V9.3.
This is a stable version of Dirty Unicorns ROm which is for the Moto X released in 2013. It is based on AOSP with several patches from CAF. This ROM’s latest release has brought lollipop for the Moto x 1st gen users. There are soem bug fixed and changes which are mention below:
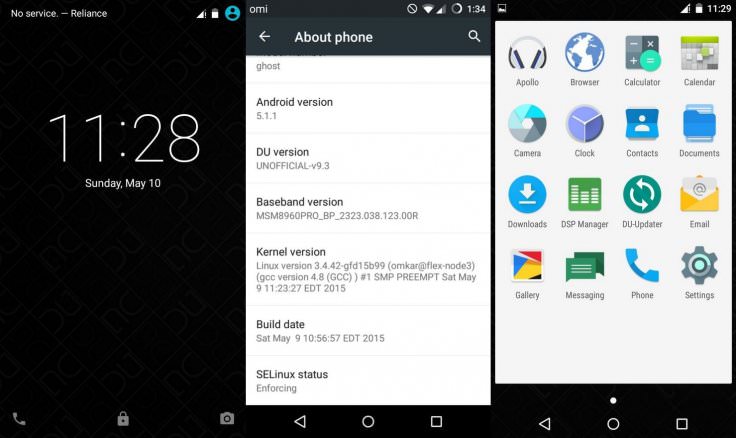
Changelog for version 9.3
- Update to Android 5.1.1
- Materialise DSPManager
- Fix SysUI FC for Themes with QS mods
- Change checkboxes to switches
- Remove Voice dialer
- Fix for Play Services deep sleeping
- Fix various Theme Engine issues
- Add back notification LED settings backend
- Fix NavRing FC
- Expose values for our applications to be themed
- Hide lights settings if device doesn’t support them
- Don’t set preferred APN’s automatically
- Fix battery and notification lights
- Various translations
We have provided a tutorial below on how to install lollipop on Moto X (1st Gen).
Important Note:
- This will void any warranty you have on Moto X
- You are doing this at your own risk
- We are not anyway liable for nay damage of your handset
- Create a backup of every important data
- This method is for Moto X 2013 model only. Doing this method on any other model or device would brick that device.
- Just in case if your device gets stuck after the flashing you need to perform wipe cache partition and wipe dalvik cache for a few times before rebooting the device.
- After the flashing give your mobile at least 10 minute to load for the first time
Pre-Requisites:
- Your Moto X need to be rooted with latest recovery installed
- Your device should have a unlocked bootloader
- Your device should be charged at-least 80%
- Enable USB debugging on the phone to connect it with the computer and use android SDK with it. Navigate to Settings> About phone. Then tap on the build Number several times and you will see a message saying “You are Now a developer”.Go to setting again and then go to Developer options to enable USB debugging.

Download:
How to Install Lollipop on Moto X (1st Gen) with Dirty Unicorns ROM V9.3
1. At first you need to connect your Moto X with the computer via USB cable and then transfer the downloaded file to the internal storage of the Moto X and remember the locations.
2. Now disconnect your phone and boot into the recovery mode. In order to go to the recovery mode you need to Press Power, Volume Down & Home buttons together for 3-4 seconds and then release them. Now the boot menu will be displayed in your Moto X 2013. Now use the Volume down button to scroll to the recovery option and press volume up to select it. Now you will be able to see recovery mode on your Moto X.
3. While in the recovery mode you need to create an android backup of the existing ROM. This can be restored if something goes wrong or the ROM is not working properly for you. From the recovery mode select Backup and do a awiper on the Swipe to Back Up Button.
4. Now perform data wiping task : wipie system/data/cache/internal and SDcard
5. Now go back to the recovery menu and cholse Install then go to the folder where you have saved the Dirty Unicorn ROM and confirm the installation.
6. Follow the same process to install the Gapps Package.
7. Now reboot your Moto Xby selecting the System then Reboot.
When the Moto X runs it should be running on Dirt Unicorns featuring Android 5.1.1. This is how you install lollipop on your Moto X (1st Gen) with Dirty Unicorns. See the XDA