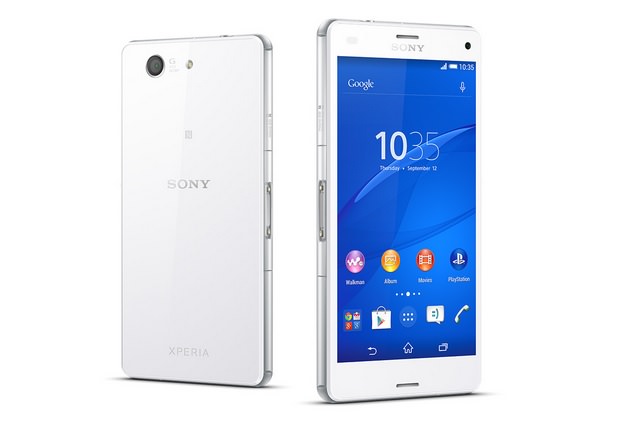

How to install Android m Preview FreeXperia on Sony Xperia Z3 compact
Sony Xperia Z3 compact is one of the few android smartphones out there to use the Android M Developer preview. It has been possible for the custom ROM community for flash forwarding the developer preview for the Z3 Compact users. Please remember that it has some bugs also. We are waiting for a stable release.
Android M Developer Preview offers
- New isolated App permissions
- Fingerprint support
- Mobile payments
- Power and charging features
- Android M RAM manager
- Adoptable Storage Devices
Prerequisites:
- This is only for the Sony Xperia Z3 compact model only
- Your device need to be rooted
- Take a proper backup via custom recovery like TWRP because this process requires cleaning
- Install proper USB drivers in your computer
- Charge your phone to at-least 80%
- Note this will void your warranty
Special Note: You are doing this at your own risk. We are not anyway responsible for any damage
Procedure:
1. At first you need to download the Android M Developer Preview and GAAPS also
2. No you have to connect your Sony Xperia Z3 compact with the PC via USB cable.
3. Now copy the android M Developer preview zip file and GAAPS file into the root folder of Xperia Z3’s SD card memory
4. Now you have to turn off the device and unplug the cable to disconnect from the PC
5. Now do a recovery mode sortie by press-holding “Volume Up” and “Power” buttons
6. Now go to the Recovery Mode, then clear the Phone Memory, choose “Wipe data/ Factory reset”
7. Now you have to clear the cache . To do that you need to select “Wipe cache partition” and go back then select “advanced” , then tap “wipe dalvik cache”
8. Install zips from SD card from the main recovery
9. Right after finishing with the installation process, restart the device by opting ‘ reboot system now” which is seen in the recovery menu
Please note that the first boot will take 7-8 minutes. However, if the boot takes more than 10 minutes clear the dalvik cache.