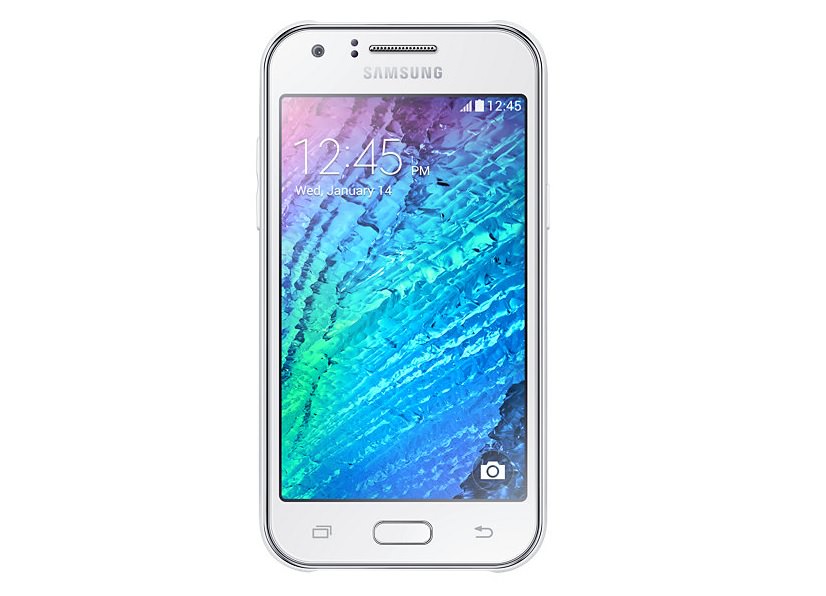
How to Install TWRP Custom Recovery On Samsung Galaxy J1
 Galaxy J1 is a mid ranged android smartphone . It may not be the best phone in the market but it surely can be tweaked the get the best out of it. In order to tweak it you need to unlock the bootloader and then you have to install custom recovery on it. Today we will teach you the android tutorial to install on How to Install TWRP Custom Recovery On Samsung Galaxy J1.
Download TWRP Recovery for Galaxy J1
How to Install TWRP Custom Recovery On Samsugn Galaxy J1
1. Atfirst you have to download the TWRP recoveyr package from the download link above
2. Now download Odin to your computer. Unzip and install it.
3. Download the proper USB drivers for yoru Samsung Galaxy J1
4. Open Odin at your PC
5. Now go to the download mode on our Galaxy J1. In order to go to the download mode you have to turn it off, then press & hold power , Volume Down & Hoem buttons at the same time for few moments.
6. Connect your Galaxy J1 with the computer via USB cable , You will see “added” message on the Odin. The ID:COM fiel will turn into either yellow or blue. However, if it does not changes it’s color to yellow or blue , then you may have to install the USB drivers again & went throught the same process for one more time.
7. Go to the Odin ,and select the PA option to load the TWRP custom recoveyr file. Please note that d o not check the Re Partition & Auto reboot options.
8. Now, you have to click start. Thus the custom recovery image will be flashed to your Galaxy J1. In this time you have to wait for few moments.
9. Please note that if Odin gets hang in the process then you need disconnect the phone from computer and force restart your phone
10. If everything is right then there will be a “pass” message on the Odin. The ID:COM fiel will be turned to green. Now, you can unplug the USB cable & reboot your device.
11. Voila , you have successfully installed custom recovery on your Galaxy J1.
If you face any kind of bootloop on your phone then you need to access recovery and select the “wipe data factory reset” . Then do “wipe cache partition” also.

