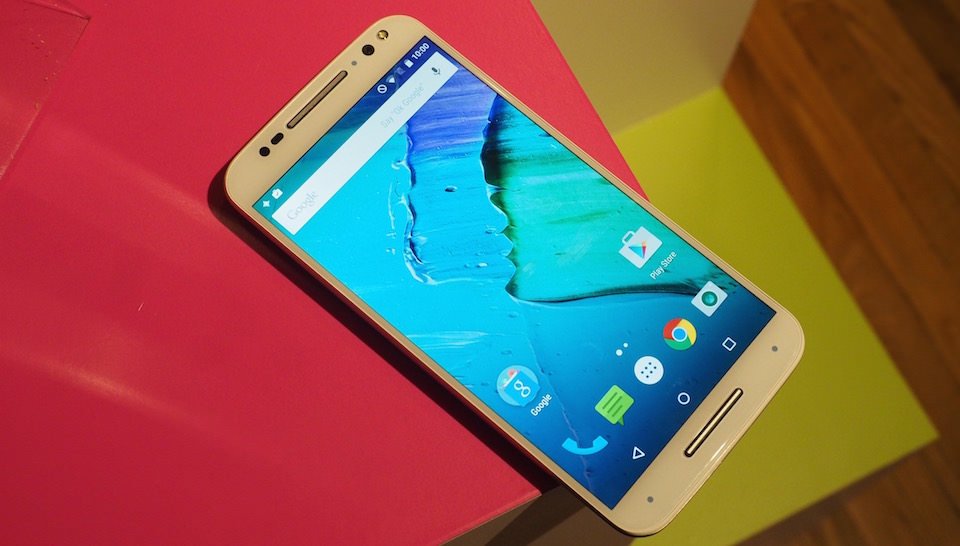

By installing a custom recovery you can start doing tweaking your Motorola X Style. Motorola Moto X Style aka Moto X Pure can do amazing stuffs if you want tweak it properly. In order to install a custom recovery like TWRP you need to follow the steps below. We have showed how to install TWRP recovery on Motorola Moto X Style.
Requirements:
- At-first you need to have 70% charge on your Moto X Pure
- Now, enable the developer options – To enable it, go to Menu – settings – about phone. Tap on the Built number several times.
- Now go to the Developer options and enable the USB debugging option
- Now, you need too backup important datas of the Moto X Style . Just in case if anything goes wrong
- You need to unlock the bootloader of Moto X Style
Important Note:
- Doing this will void your warranty
- You are doing this at your own risk. We are not liable in any sense.
- This is only for the Moto X Style
How To Install TWRP Recovery On Motorola Moto X Style
1. At first you have to go to this page and download the TWRP file
2. No unzip the TWRP package to somewhere you can recall later : like desktop
3. Now, switch off your Moto X Style and wait for few second. Then reboot the phone into the bootloader mode via pressing & holding the Volume down & power button at the same time for few seconds
4. Now, you have to use a USB cable to connect the phone to the computer
5. Open a comman prompt window in your computer by righ clicking on a blank space of a folder
6. While in the cmd window type : “fastboot flash recovery recovery.img”
7. Withing few moments the custom Recovery Image will be installed in your Moto X Style
8. Right after finishing the flashing process , type : “fastboot reboot”
9. Now, you need to unplug the USB cord. From now on you can enter the bootloader mode.